Revolutionary, or even dangerous technology, or just a marketing gimmick? The fatigue surrounding the topic of AI has likely led some to question its true potential. Meanwhile, tools based on artificial intelligence mechanisms are operating in an increasing number of devices and systems. Instead of theorizing or demonizing, we choose practical action. In this post, I will discuss the AI-powered tools built into HubSpot that I use in my daily work as a content marketer.
For the purpose of this post, I created a sample blog article using AI tools at every stage of the process. This way, you will be able to see the most useful features and their practical application in the daily tasks of a content creator or copywriter.
1. Generating Ideas
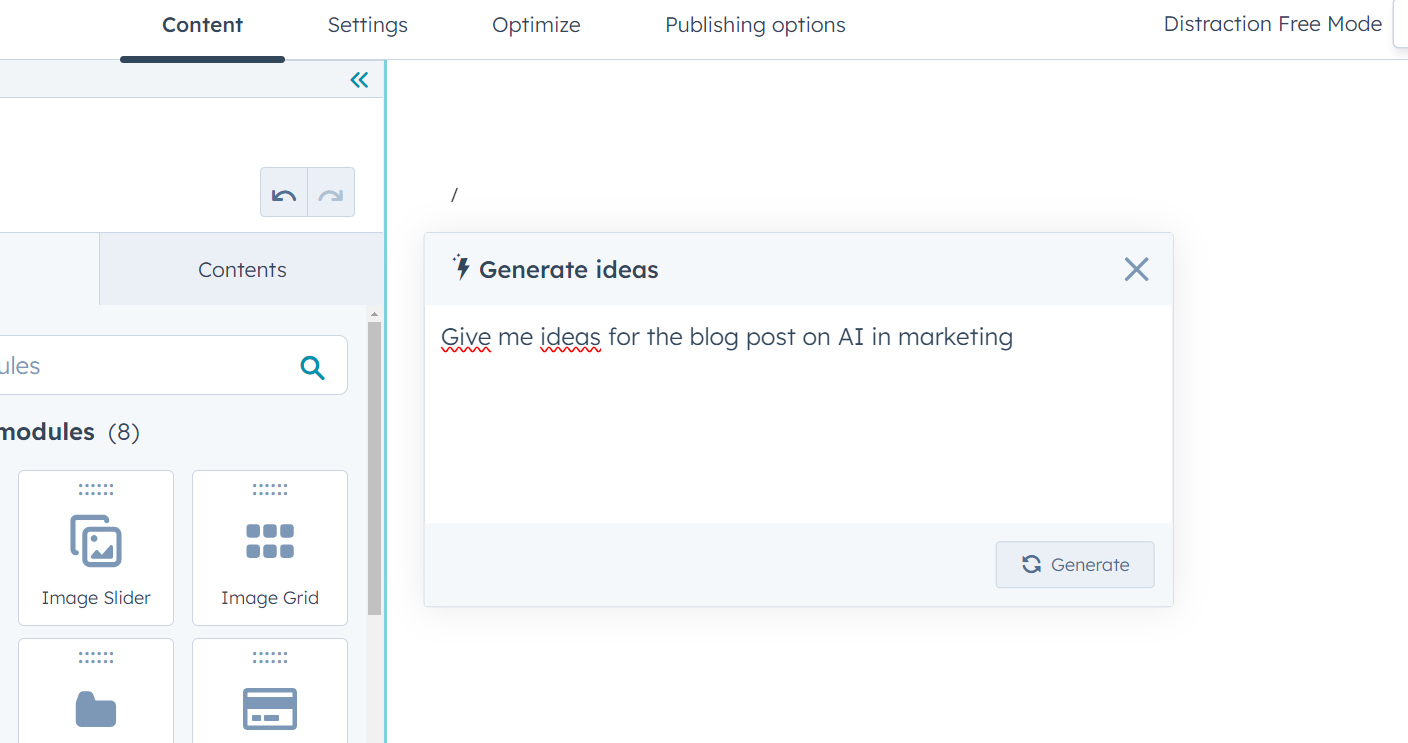
Choosing a topic is the first task when creating a content. Sometimes, you know the area to focus on, but it's challenging to formulate a specific topic. Other times, you need a series of articles forming a topic cluster. An AI content assistant can help with idea generation. To use it, simply type a forward slash in the HubSpot blog text editor. After selecting "Ideas" from the dropdown menu, you can enter a relevant query:
The content assistant will suggest several topics:
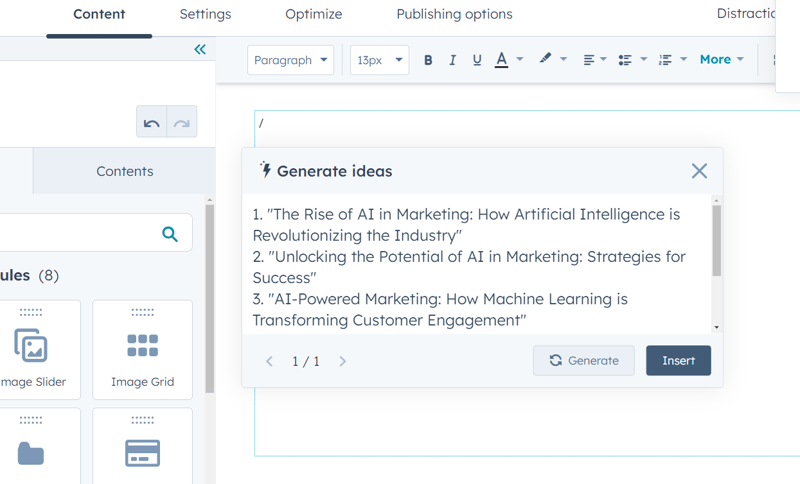
Now you can either repeat the query using the "Generate" button or insert the chosen topic into the editor using the "Insert" button.
2. Creating an Article Outline
Once you have a chosen topic, whether it's your own or one proposed by AI, the next step is to create an appropriate article structure. If you're unsure about which points to include in the post, the content assistant can also suggest a suitable outline.
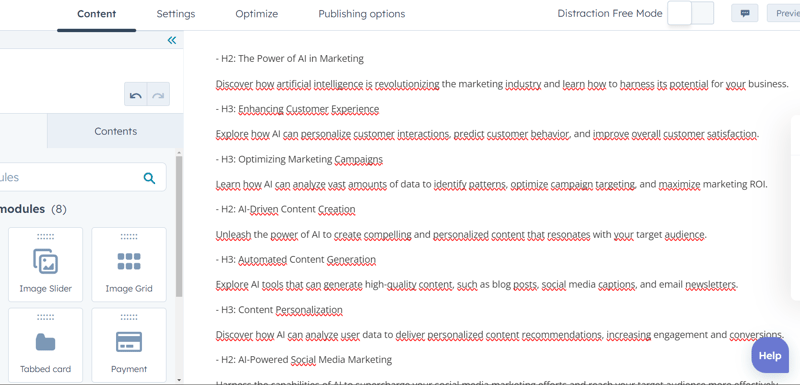
After typing a forward slash in the dropdown menu, select "Outline." Here's an example outline that you can then insert into the editor and modify as needed. It even includes appropriate header level indications to optimize the final text for SEO.
3. Generating Content
After customizing the topic and outline to your needs, it's time to write the actual content of the article. As seen in the sample outline, HubSpot already signals topics to expand on at this stage. You can use them as a basis for further work. There are several options to experiment with:
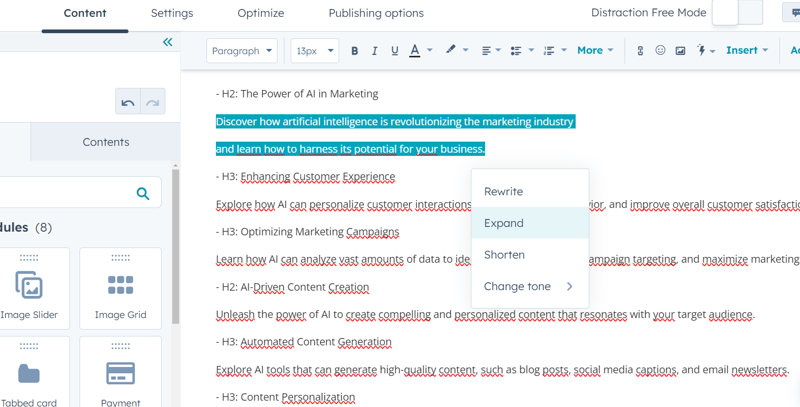
- "Expand" option in the content assistant: After selecting a specific sentence, you can ask the assistant to expand on it. Click the lightning bolt icon that appears next to the selected text.
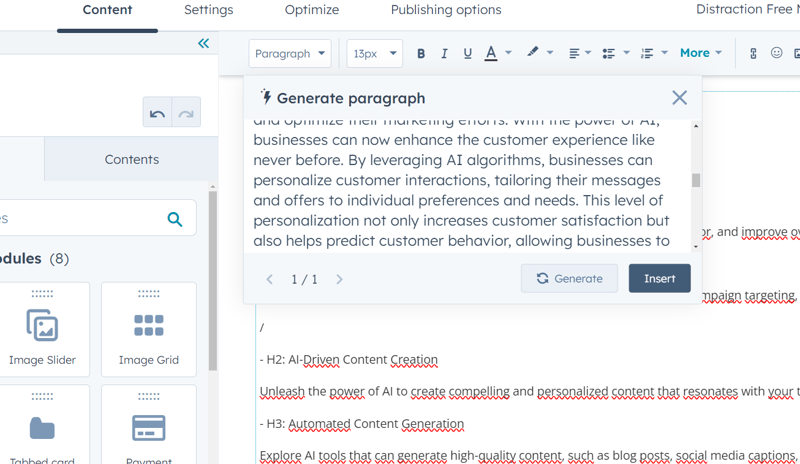
- Create a paragraph with the content assistant: In the content assistant, you also have the option to create a paragraph. In the editor, simply type a forward slash, select "Paragraph," and then enter your query. It could be one of the topics or headers proposed in the outline.
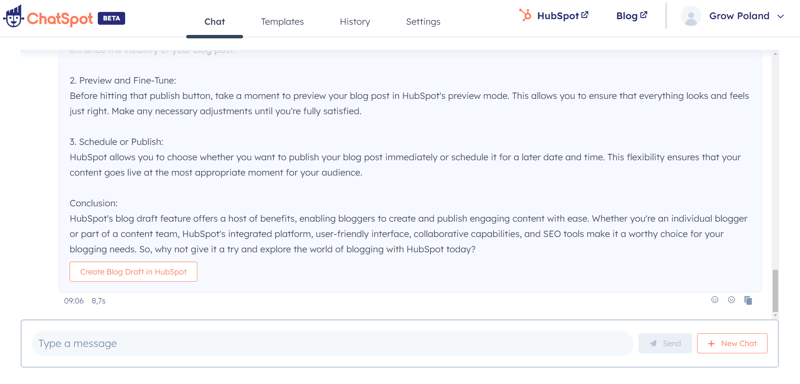
- ChatSpot: If the content assistant's suggestions are insufficient or if you prefer to address the topic comprehensively from the start, you can use another AI tool integrated with HubSpot, called ChatSpot. It's beneficial to provide both the topic and the previously generated content plan.
4. Posting the Blog Entry
As seen above, after generating the blog entry, ChatSpot suggests adding it to the blog. If your HubSpot account is connected to ChatSpot, simply click "Create Blog Draft in HubSpot," and the ready draft will appear in the system, as indicated by the chat notification.
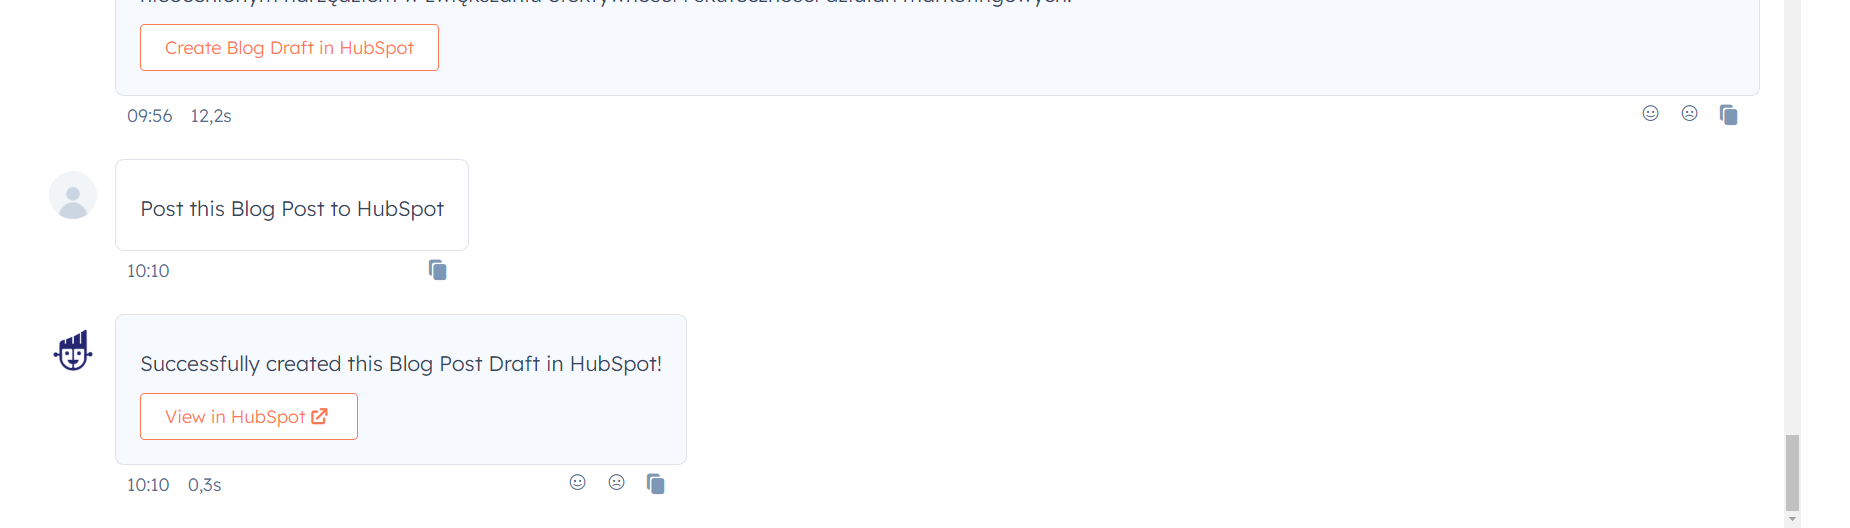
If you then click on the "View in HubSpot" button, you can check the result right away.
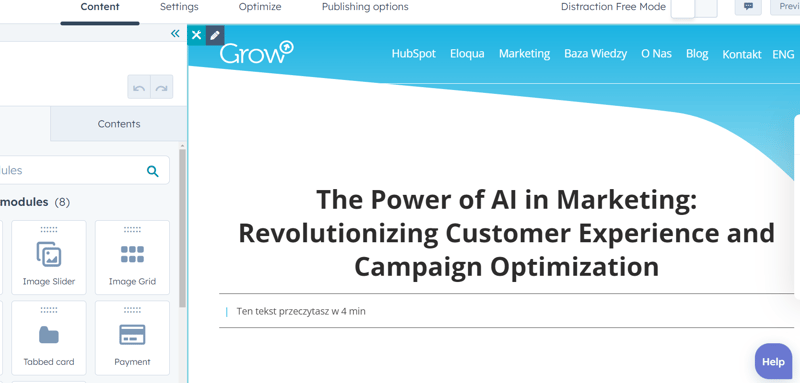
With a fitting title, your blog entry is now in your HubSpot, without the need for additional actions.
5. Editing
Of course, you don't have to rely entirely on AI. When the entry is in HubSpot, it's a good time to do some manual editing. If certain parts seem too long, too short, or if you want to change their style, you can also use the content assistant at this stage.
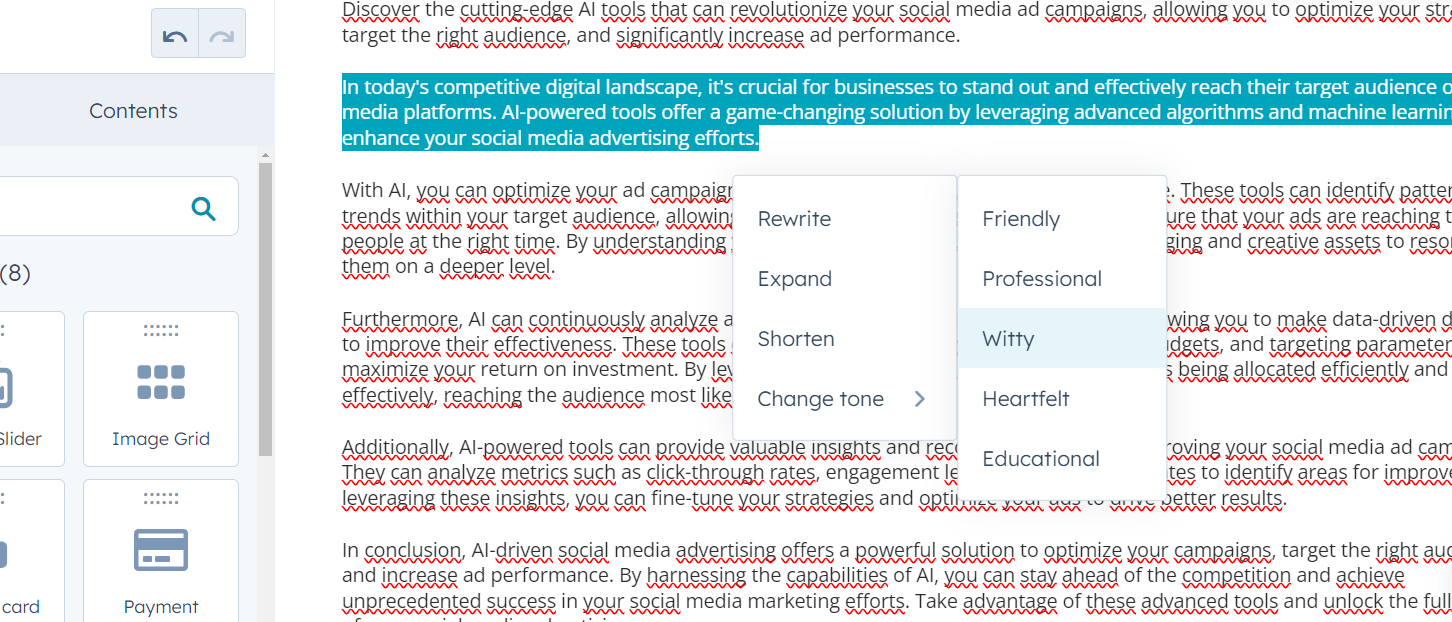
The sample entry still requires some human touch to improve language, style, and certain substantive elements, but a significant portion of the work is already done - quickly and efficiently.
6. Meta Description and Title
Once the blog entry is ready, it's time to check the "Settings" tab. The blog title is already chosen, but you can also take advantage of suggestions. To do this, select the lightning bolt icon located in the upper right corner of the title field.
The second thing to address for SEO optimization is the article's meta description. Again, in the upper right corner above the field, you'll find a lightning bolt icon that can generate a description with a single click.
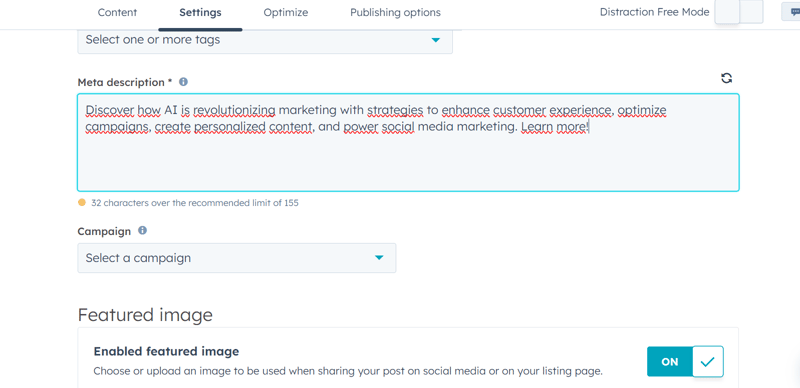
Generated descriptions can sometimes be slightly lengthy for SEO, but you can easily adjust them to the appropriate length with the automatic character count recommendation.
7. Adding Images
To publish your blog entry, you just need to set the appropriate main image. If you don't have a suitable graphic on hand, ChatSpot can help once again. Here are images generated for my sample post about using artificial intelligence in marketing.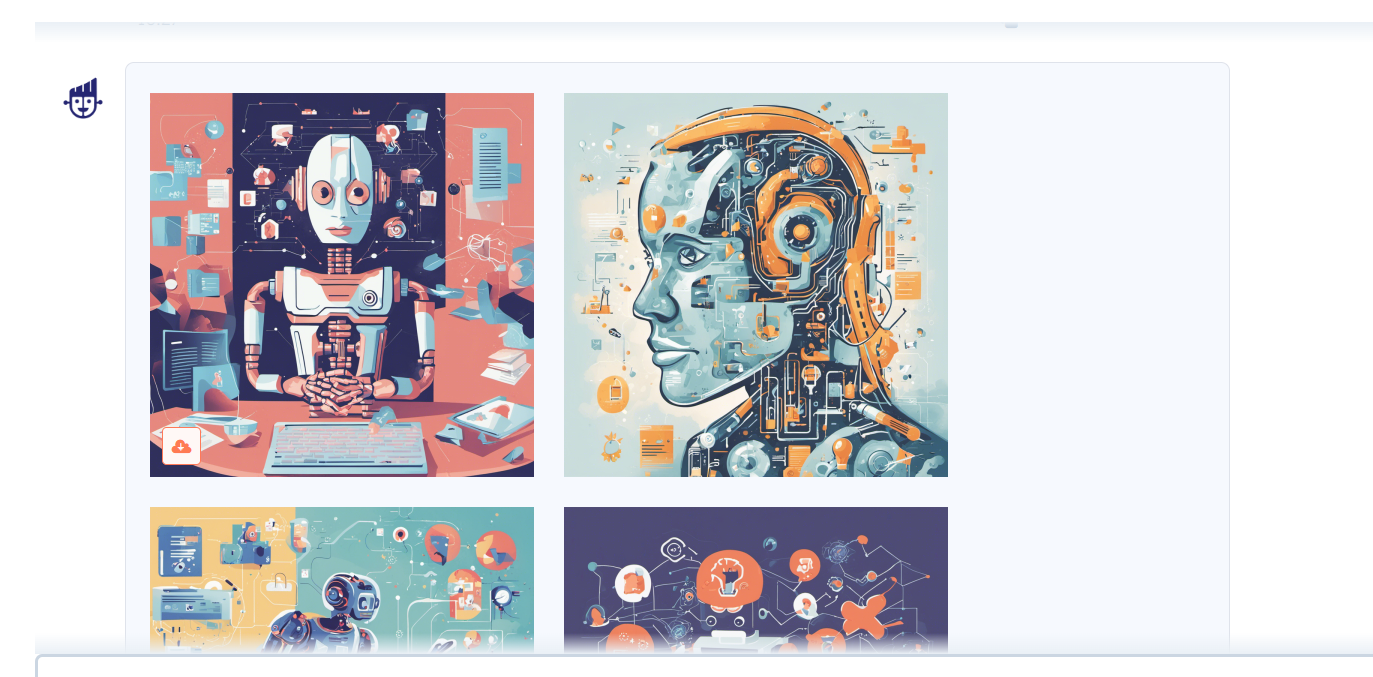
You can guide ChatSpot regarding the topic, style, mood, and color scheme of the image, ensuring it best fits your post.
8. Creating an Audio Version
The basic version of our article is already ready. However, with AI-powered tools, we can add a few extra elements to make the post more attractive and accessible to a larger audience.
In the latest update related to the creation of Content Hub, HubSpot has provided users with the ability to generate audio versions of texts. It is actually simple to use and allows you to create a completely new format of your content with just a few clicks. You can find the "Generate a narration for this blog post" option above your post's content editor or in the "Settings" -> "Post Narration" tab. After selecting it, you will see a window that allows you to accept the text that will form the basis of the audio version or edit it (for the audio version, you may want to shorten the text, remove image captions, or add details conveyed by images). You can also choose from several narrator voices.

Clicking the "Generate" button will start the process, and after a while, you will receive a ready audio version. Now you can listen to it and insert it into the post with another click.
9. Translation and Creating Multilingual Versions
The next tool is a revolutionary convenience for creating multilingual content. Many companies run their websites/blogs in at least two languages. Recently, this has become much easier (and let's face it, more economical) thanks to translation tools, with DeepL being considered the best until the breakthrough of GPT chat. ChatGPT also works quite well as an AI translator.
However, until recently, performing such a translation involved manually copying text to the appropriate tool and back. While this may seem minor since the bulk of the work is already done for us, it still took some time, especially regarding text formatting – headers had to be re-marked, links added, illustrations inserted...
Currently, in Content Hub (Professional+), the "AI Translations" option based on DeepL is available. After selecting "Create a multilingual variant," simply toggle the "AI Translation" switch to the right and click "Create."

The most convenient aspect is that everything is already in the right place: headers, illustrations, title, even meta description. Of course, you need to review the language output, but this is already a matter of editing and proofreading rather than manually creating the entire post, which unnecessarily takes time. This is a perfect example of how AI can handle tasks that require following a certain pattern and leave more room for refining the content.
10. Social Media Promotion
To ensure that the published post reaches readers, it will need to be promoted. Appropriate social media posts will drive traffic to your site. When creating them, you can also use the tools built into HubSpot.
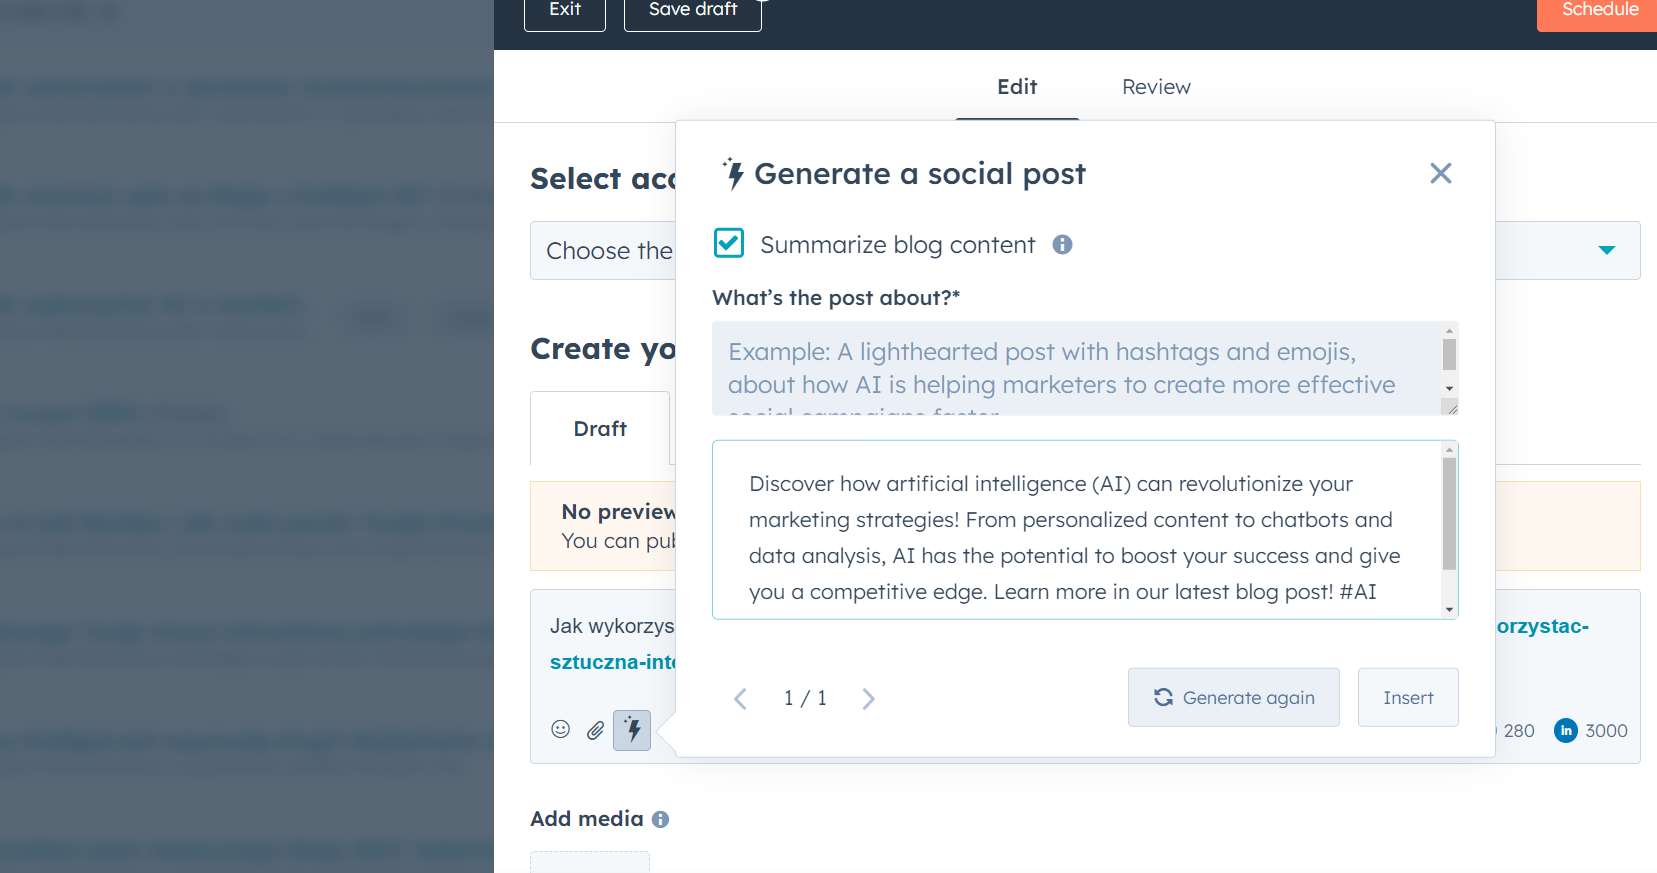
Find your newly created post in the "Blog" tab and click "More," then select the "Share" option. A window will appear allowing you to prepare a post with the appropriate sharing and publish it from your social media account connected to HubSpot. In the content editor of the post, a lightning bolt icon for the content assistant is visible in the lower left corner. Clicking it will show the command window – you can simply select "Summarize the blog content," and AI will generate a summary post of your article encouraging readers to check it out.
If you use Content Hub in at least the Professional version, you can do much more regarding content reformatting. In the main menu "Content" tab, you will find the "Content Remix" feature, which allows you to create: an ad, an audio file, a blog post, an image, a landing page, an email, an SMS, or a social media post based on the base content. For each of these forms, you can additionally set parameters to specify your expectations (e.g., image style, blog post goal). The result is a scheme of related content that you can then accept and edit in HubSpot (e.g., in the email editor or the "Social" tab).

Finally, the cherry on top, the latest tool created by HubSpot in cooperation with GPT chat. The Landing Page Creator GPT allows you to create landing pages with the help of GPT chat and place their designs directly in HubSpot.
The GPT model guides us through the process of creating a draft by asking appropriate questions.

It then requests permission to contact the HubSpot API to create a preview of the landing page. In the preview view, there will be a button that allows you to log in to your HubSpot account and save the finished draft there.

From there, you can continue working on the page, such as adding graphic elements, directly in HubSpot. It's a turbo boost that’s worth trying out.
How AI Supports Content Marketing?
AI-powered tools, such as those built into HubSpot, can be extremely helpful in creating content. From gathering ideas, through planning and generating text, to publication and promotion – AI can significantly simplify and speed up the entire process. It also allows for easy content reformatting – adding images, additional language versions, or audio versions. Of course, there is still a need for human intervention, but a significant portion of the work is already done. This allows you to focus on refining the message and style.
Of course, this guide is somewhat "fictional." In the daily work of a content marketer, I never use all the mentioned tools at once. They primarily need substantial input and an editorial eye to create content valuable for readers and someone to guide them to work for a coherent content strategy. Nevertheless, I estimate that capabilities such as automatic meta description and translation generation, creating summaries, or drafts for further work save me about 25% of the time needed to prepare the full version of an article (adding the capabilities of ChatGPT makes the savings quite significant).
I hope this guide helps you use artificial intelligence in your daily work and encourages further exploration of this topic and experimenting with AI tools.
Do you want to learn more about the content marketing tools available in HubSpot? Or maybe you prefer to entrust your blog to experts who will create SEO-friendly and valuable posts for readers? Contact us, and we will surely help!